I made this little pulley as part of a larger project aimed at making my resin printing workflow a bit more efficient. If it works out, I'll add a dedicated page with some details on the build.
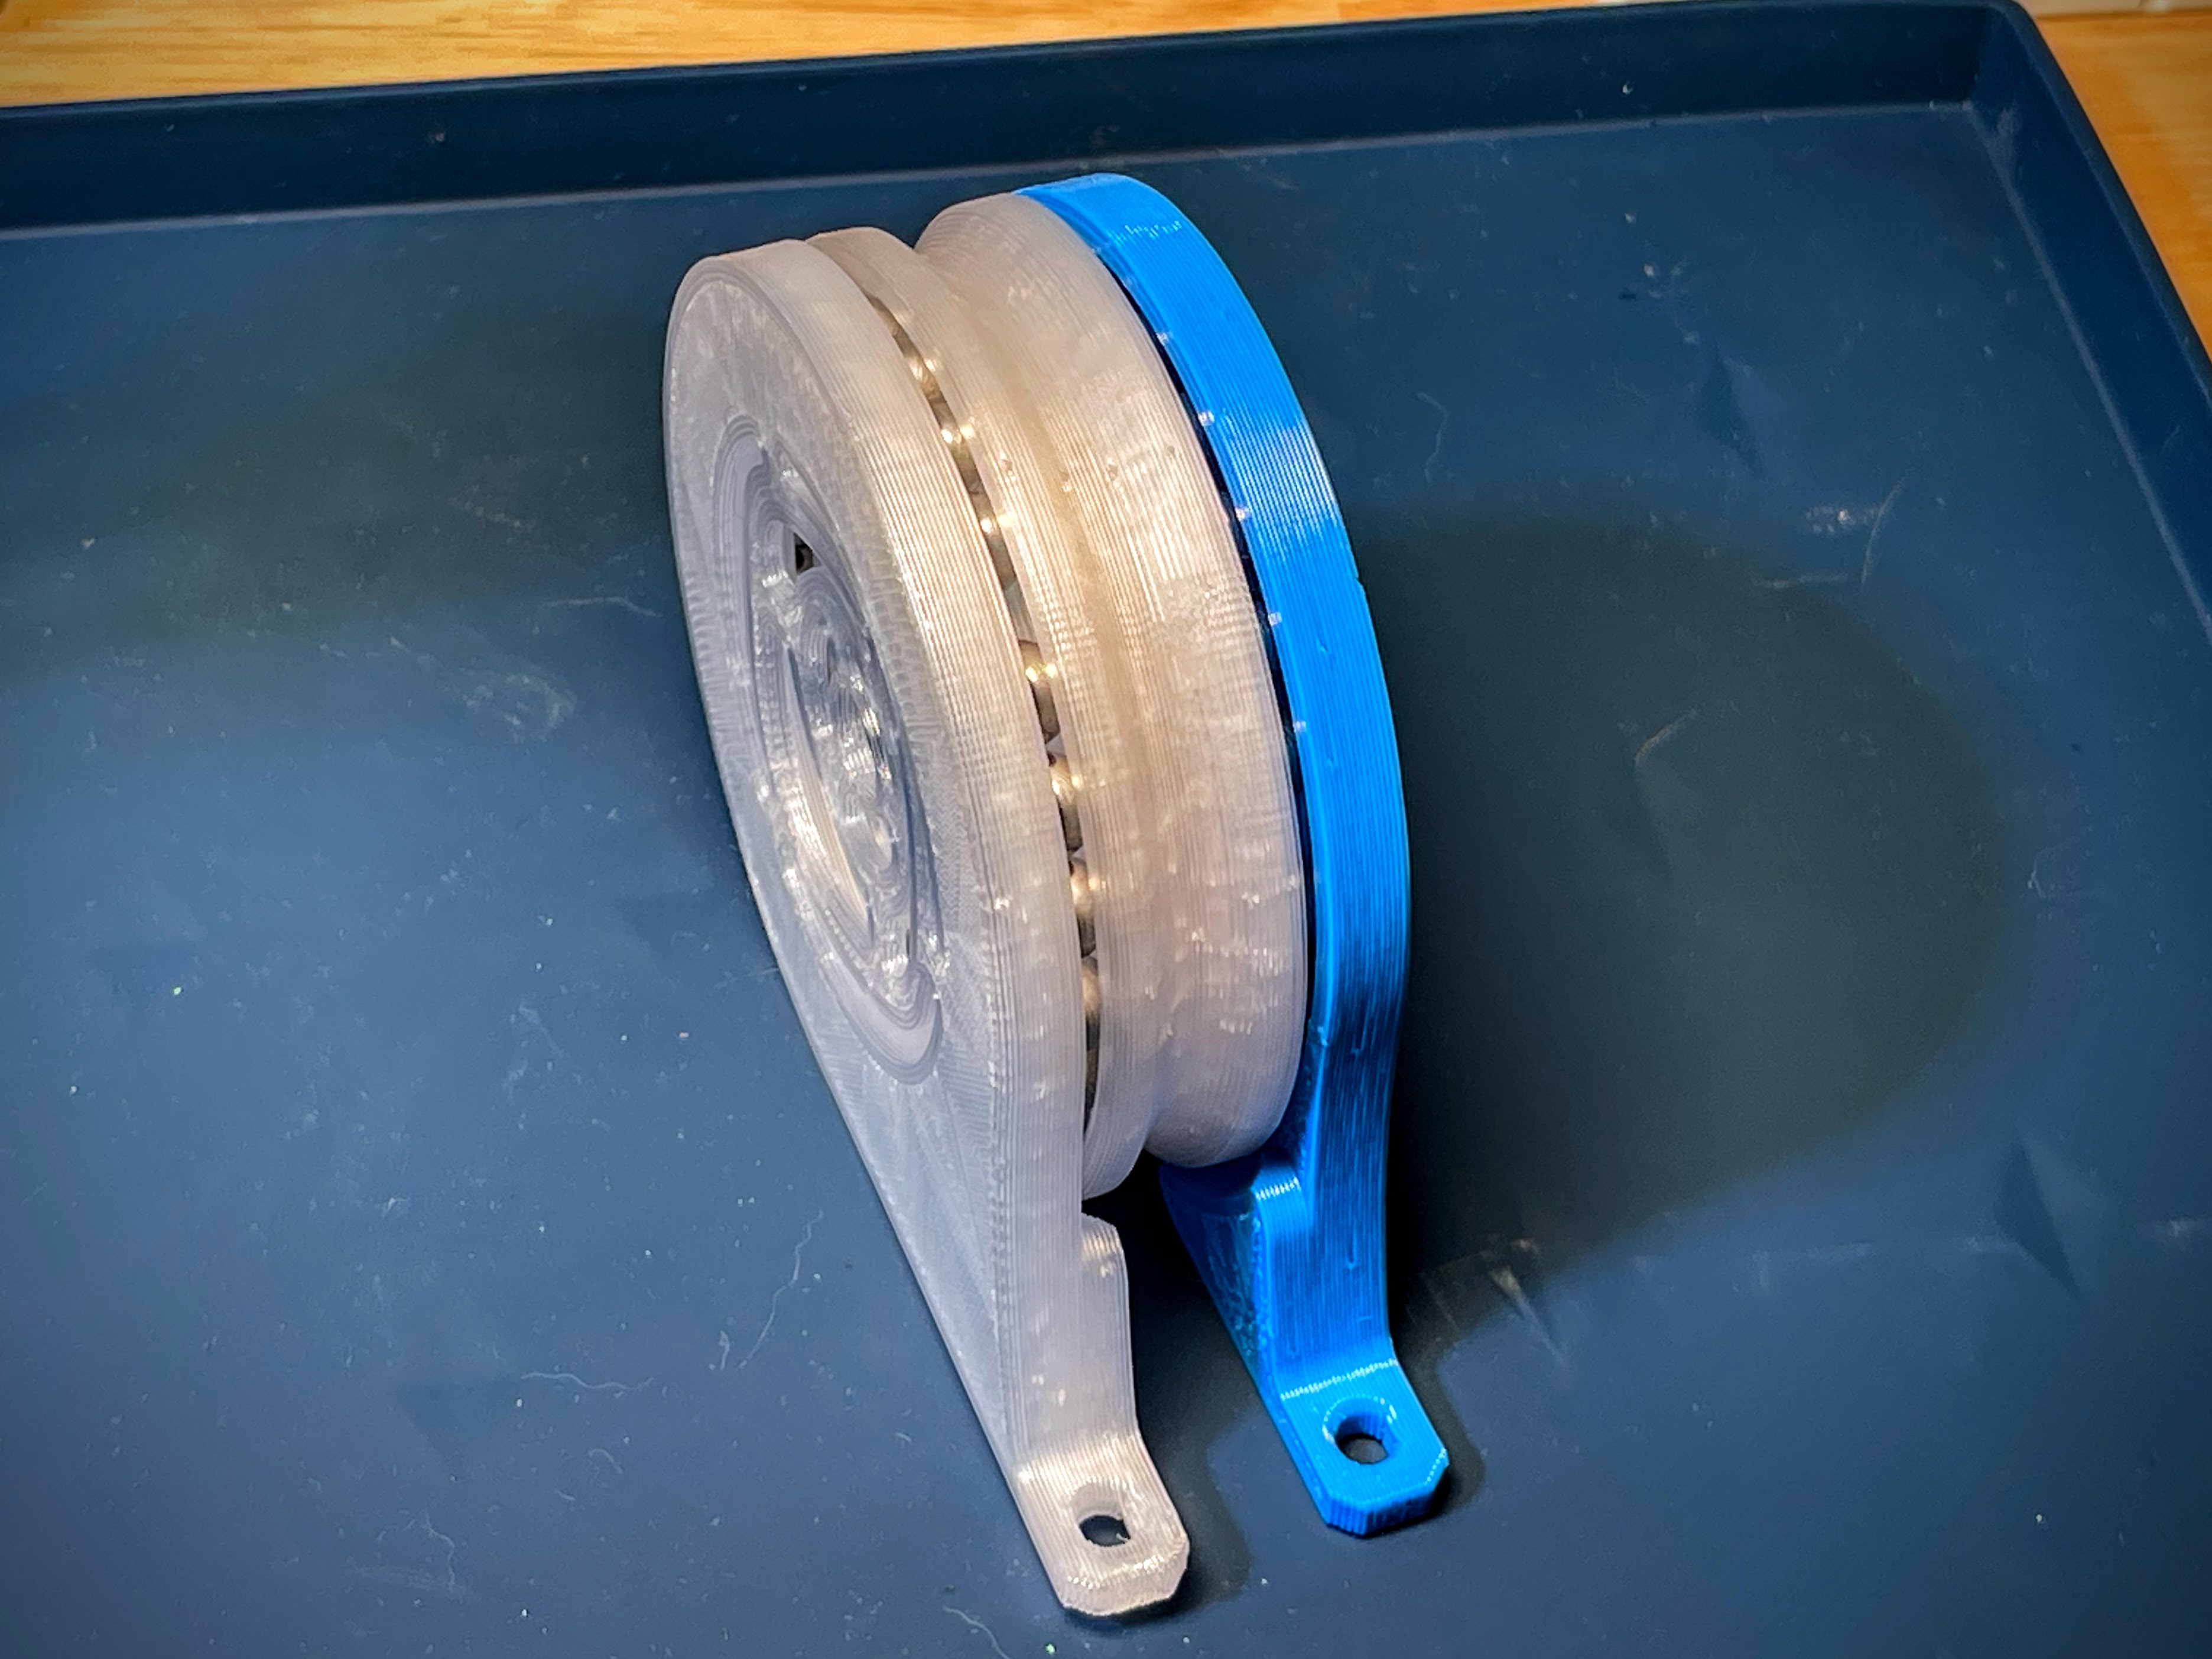
The Design
It's a relatively simple little pulley, so not a ton to dive into on the deisgn, but there are a couple of design elements that I think are fun/noteworthy.
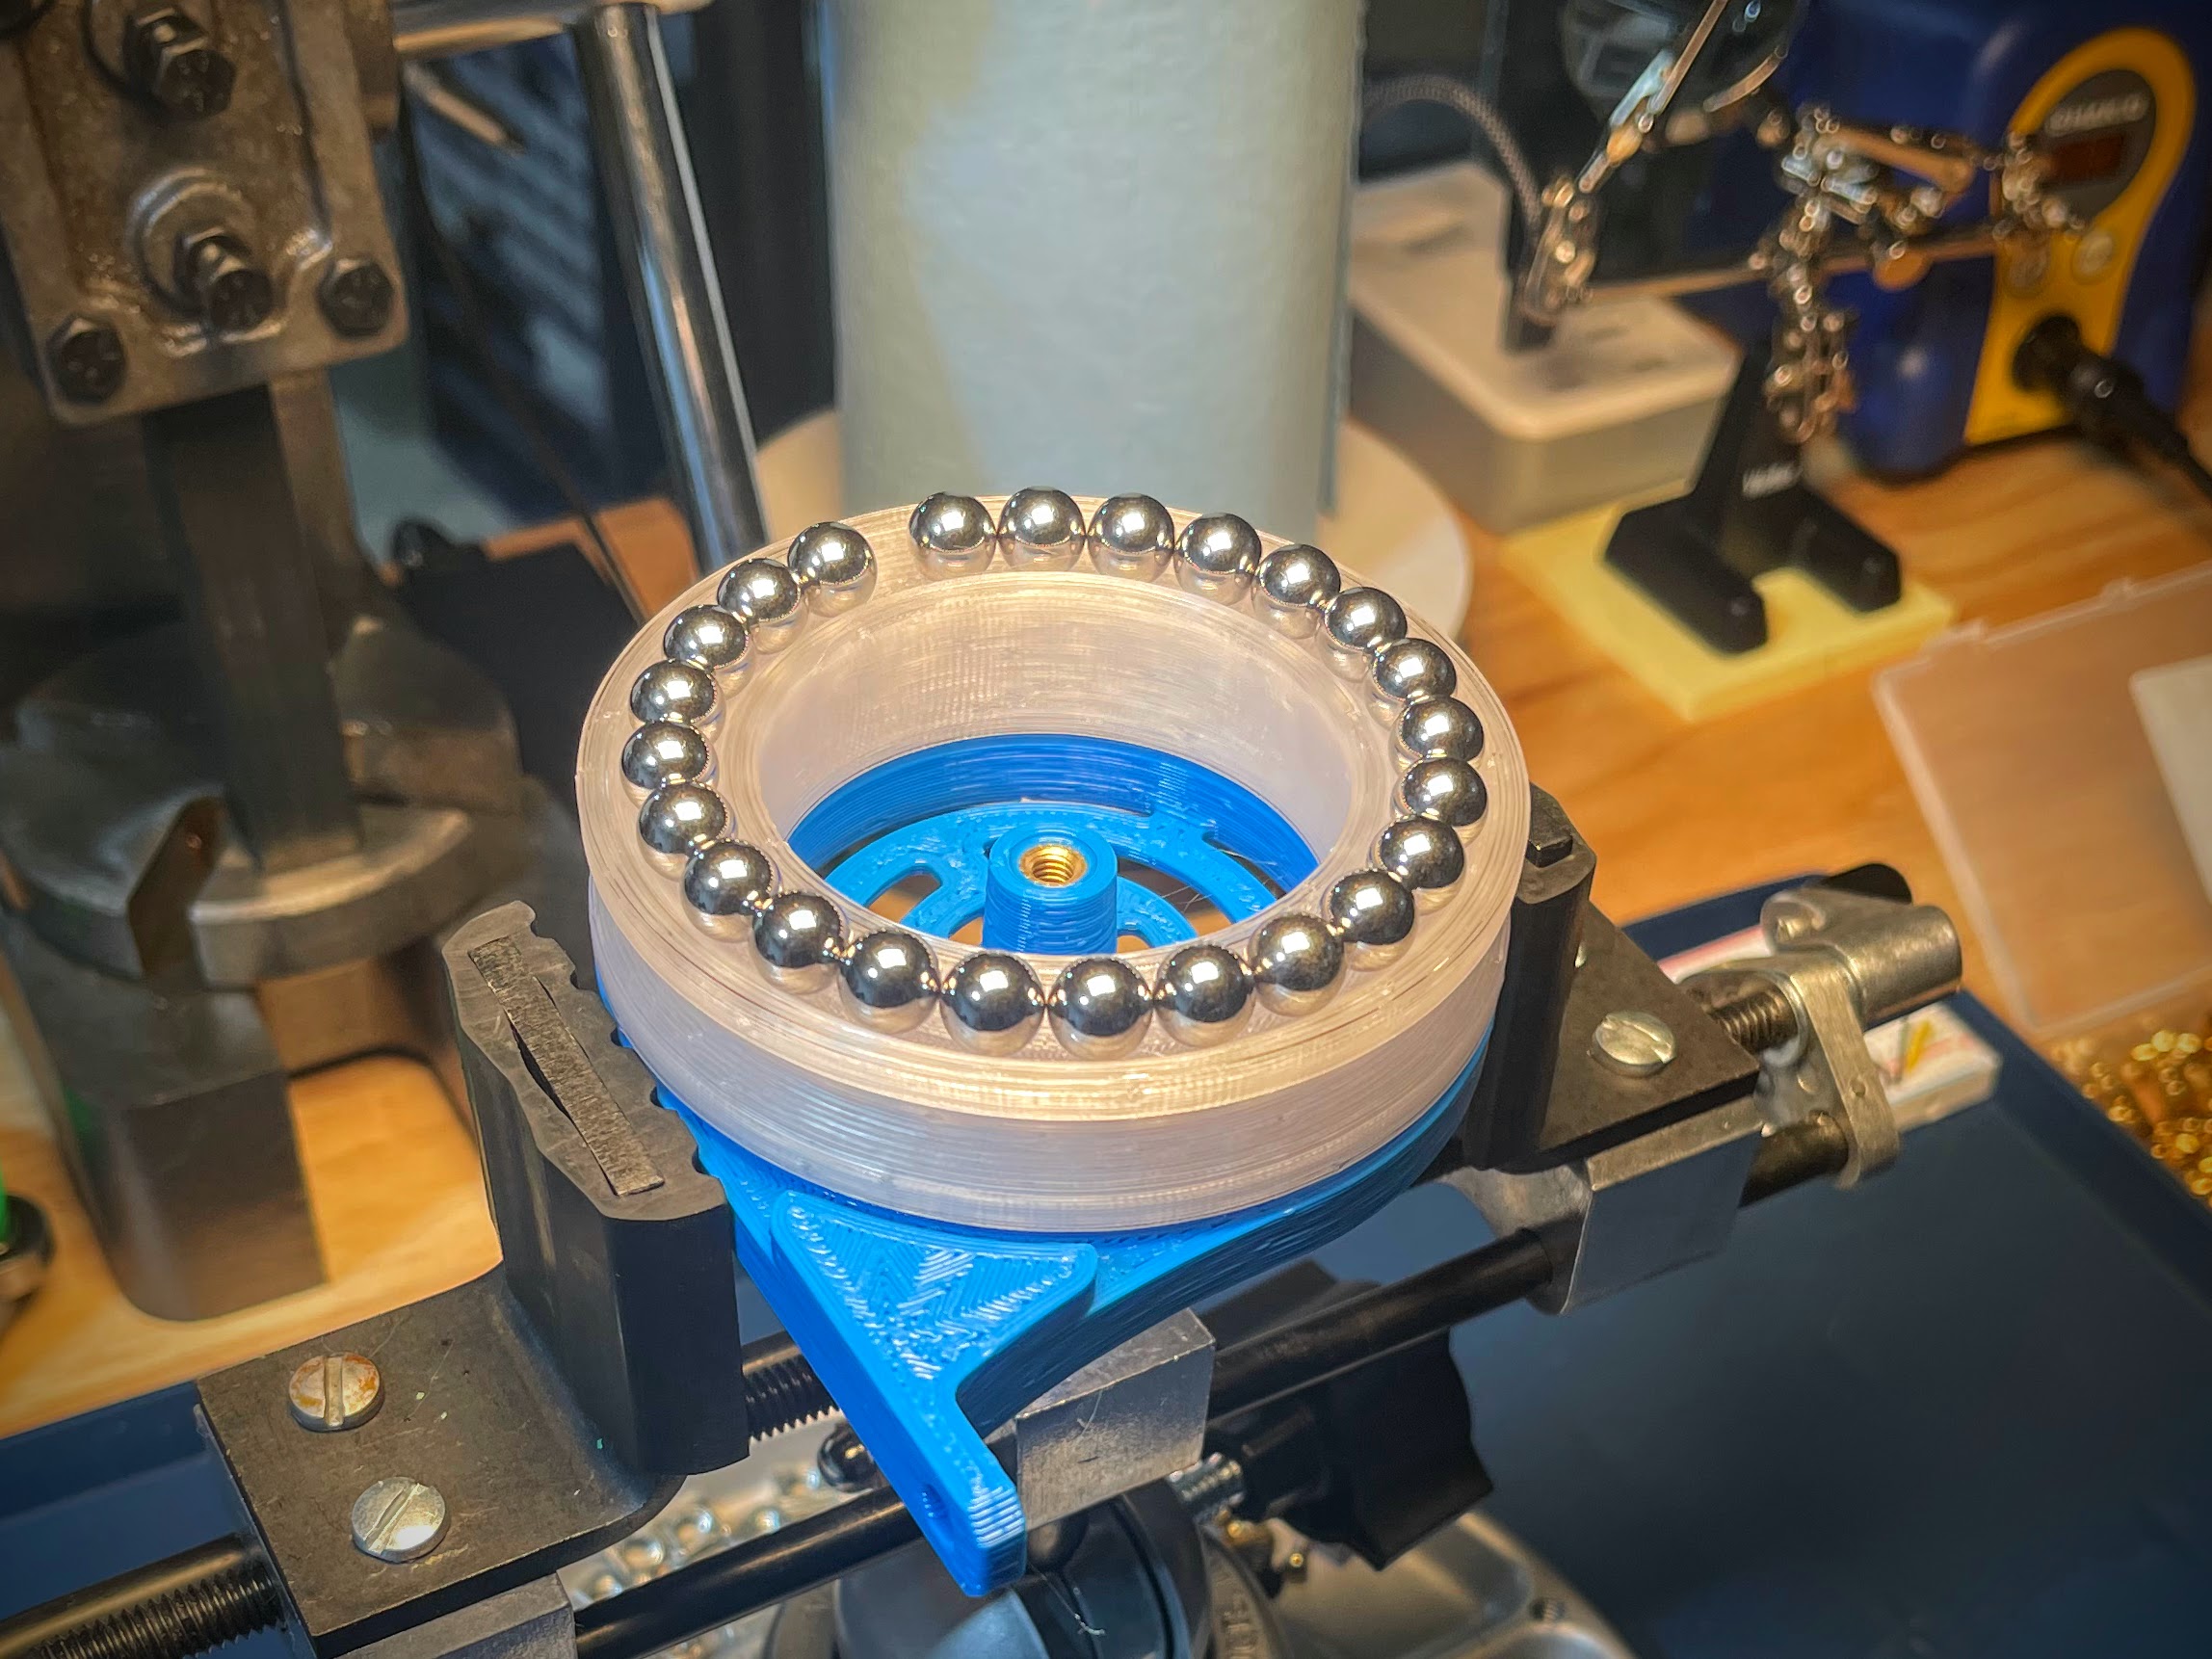
The first is the integration of the bearing races into the printed parts. It's makes for a bumpier ride than going with rolling element bearings, but it alleviates the need for printing a 'precision' shaft for the inner bearing race, and keeps the stresses well distributed in the printed parts (instead of concentrating the stresses at the hub.)
 |
 |
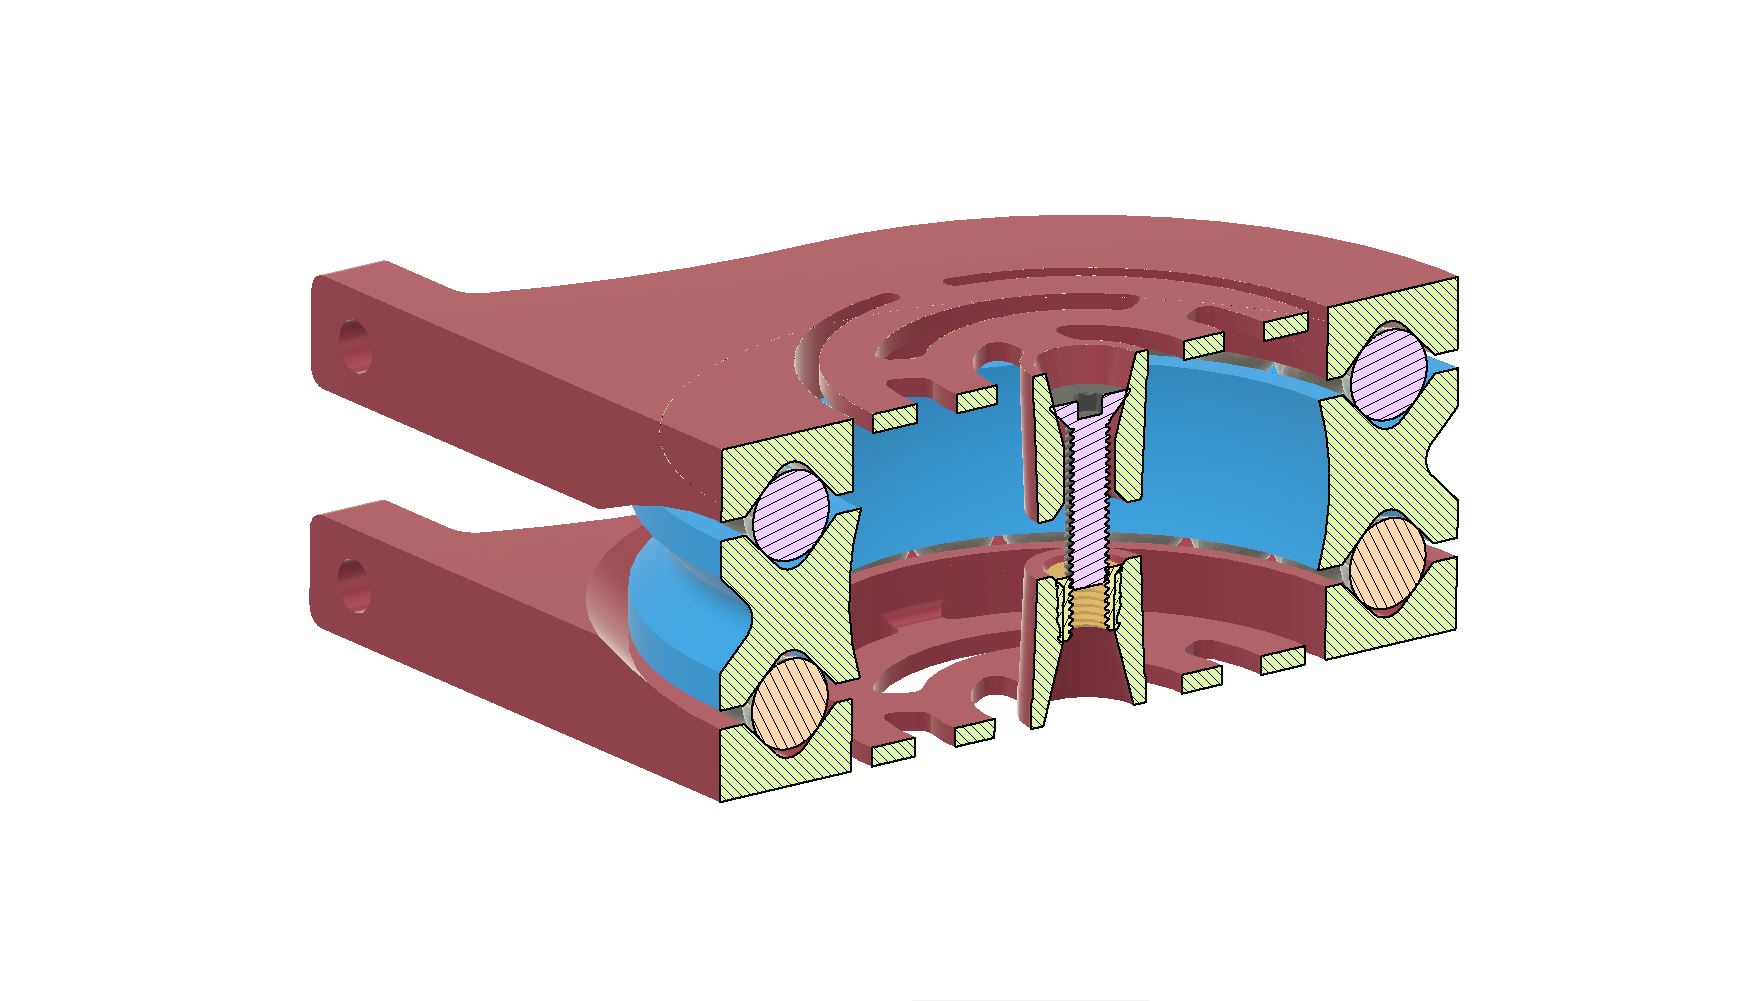
The second design element of note is the use of diaphragm flexures to provide a somewhat repeatable preloading of the bearing. I say "somewhat" because plastics (especially those we all tend to print with) are quite susceptible to stress relaxation. So over time the preload in the bearing is likely to decay, possibly significantly. Unfortunately, trying to accurately predict relaxation is difficult even in well-behaved metals. So I'm just gonna let it ride and see how it holds up!
 |
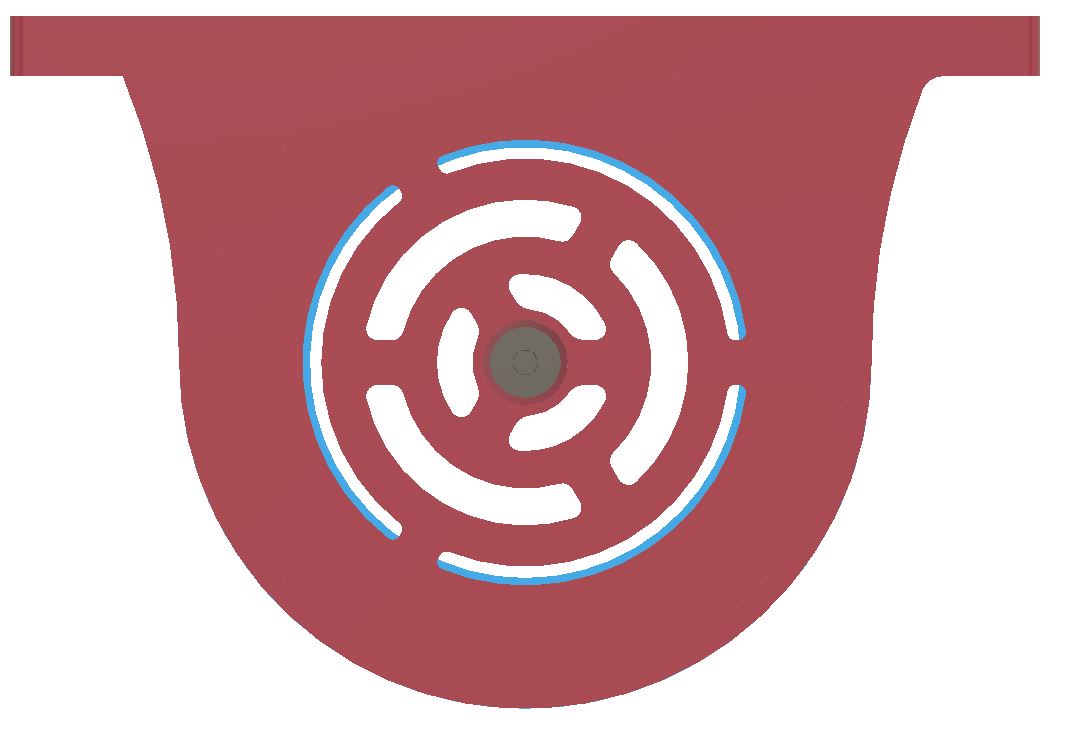 |
The preload works by tightening the M5 fastener through the center until the inner and outer hubs are fully in contact. The flexures will be displaced 1-2mm toward each other, providing the compressive force through the bearing. As a load is applied to the pulley, the V-grooves in the bearing races apply a force to separate the assembly, however, because the stiffness of these flexures is nonlinear, the preload force increases rapidly in opposition to any deflection...so my guess is, when it fails, it'll fail where the flexure meets the hub.
The Build
BOM:
- Printed Parts
- (Qty 2) Housing - There are two variants, one with a single mount hole per side (like shown in the GIF above) and one with two. They work the same, the choice is yours on how you want to mount it, and how brave you are with a single fastener per side.
- (Qty 1) Pulley
- COTS
- (Qty 48) 3/8" Balls - I bought this bucket of balls a couple of years ago, use them liberally (as you can see), and I still have lots left...what can I say, I like em
- (Qty 1) M5x5.8 Heat set insert
- (Qty 1) M5x20 Flat head hex socket - Head type is up to you, and anything longer than 20mm will also work.
- Lubricant - I used this dry PTFE from WD-40, but whatever your preference. You can also run it dry, but it's noticeably smoother with some lubrication.
Assembly
- I started by laying one housing flat on the table and inserting the M5 heat set.
- Put the first 24 balls into the V-groove in this housing (you don't need to count them, just put them in until the groove is full)
- Apply some lube
- Place the pulley/rotor onto the balls. The pulley is symmetric, so orientation shouldn't matter.
- Put the remaining balls into the V-groove in the pulley
- More lube
- Put on the second housing and tighten the M5 until the hubs have come into contact (you'll notice the screw torque go up REAL quick), and then tighten a smidge more...don't go crazy.
- Good to go, mount 'er and lift somethin!